Never Look at the Sun Through a Telescope Without a Proper Solar Filter
When my Astrozap solar filter film arrived last week, it was very tempting to go grab a pair of scissors and glue the film right across the opening of the closest available scope, especially since Active Region 1339 was crossing the face of the Sun. Obviously, it would have been stupid of me to rush right in. I missed direct viewing of AR1339, but I think waiting to make a correct filter was wiser.
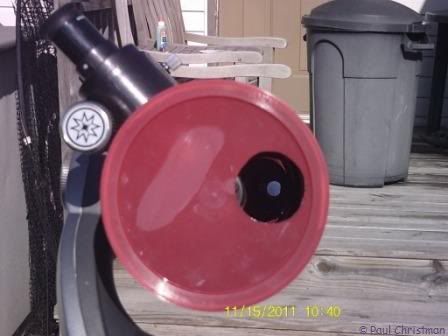
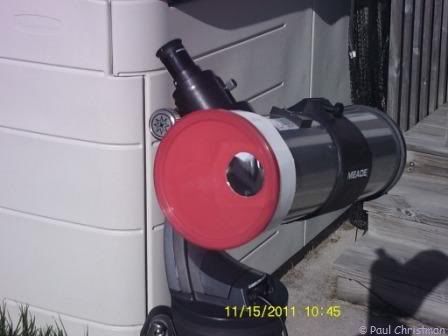
The Astrozap film comes with instructions on making a filter cell, and I followed their advice. To make the cell, they recommended making two masks to fit over the aperture opening, with the filter being glued between them. For the front mask of the cell, I used the lid of a coffee can. The lid was slightly larger than the front of my 4.5” go-to scope, which meant that when the cell was completed, it would be a perfect fit. Since the lid was translucent, I needed the back mask of the cell to block sunlight. I used one of the sheets of cardboard I used for solar projection.
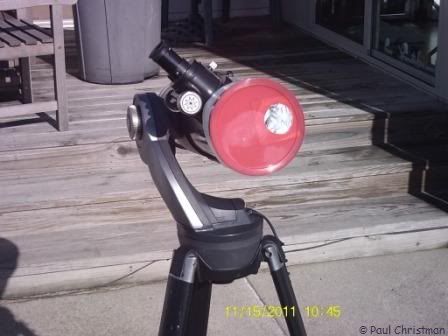
Since a full aperture filter is unnecessary and wasting filter film, I needed to make an offset hole to place the filter. (It seems obvious, but for anybody new to reflecting telescopes, you want to let the light through to the side of the secondary mirror. Put it right smack in the middle, and the secondary mirror blocks the light path, rendering your new solar filter useless). Now I had to figure out how big I needed the aperture of the filter should be. I held several household items to the front of the telescope. Vegetable and soup cans were too big; from the inside of the tube, they extended past the secondary mirror. Finally I found a bottle of baby powder that was almost the right size. The secondary mirror would be blocking the light path, but just barely.
I placed the piece of cardboard to the front of the telescope, and traced the outer perimeter of the optical tube. I cut the cardboard along that outline. It fit perfectly over the front of the telescope, and was slightly smaller than the inside of the coffee lid. Good. Now I used the baby powder bottle as a template on the cardboard aperture mask. I figured out where the hole should be located, and again traced out where to cut. This cut was trickier, but my small pocket knife did the job.
Astrozap recommends using strips of poster board glued together to attach the filter cell to the OTA. I happened to have an old sheet of poster board on hand. Three strips between the filter and cardboard made a snug fit, not too tight. I glued the strips inside the lid. Placing the cardboard into what was now the front of the cell, I traced the aperture hole onto the lid, and again cut it out with scissors.
At this point, I still hadn’t cut the film. I wasn’t committed to anything. I could wait and find something better, or I could cut, and live with it. I cut. I should have measured and marked the film, but I didn’t. I was reluctant to handle it any more than absolutely necessary. Instead I made incisions slightly larger than my aperture hole, and slowly extended them in straight lines until the two intersected. Now I had to complete the project.
I glued the filter to the cardboard, and when that dried, I glued the cardboard inside the front of the cell, the coffee lid. Done. I waited for the glue to dry, then tested it. Works great. Counted a whopping ten sunspots, the larger ones showing nice dark cores. The large sunspots even took magnification pretty well. Also, a yellow filter on the eyepieces spruces up the plain white image. Imaging seems to be tricky, but I haven’t played around enough to know if I’ll be able to get good images of the Venus transit, but I still have 200 days to figure that out.
Note: I did have to re-glue everything Wednesday. I don't know if I didn't use enough glue the first time, if it was the cold weather, or something else that caused the glue failure. If it doesn't hold this time, I'll have to try better glue.
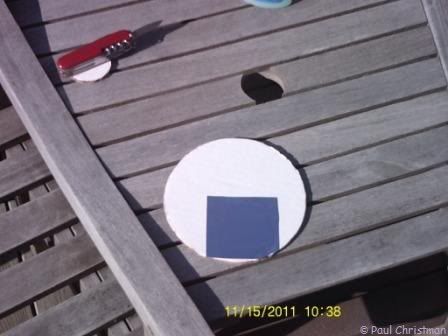
The middle of the filter cell.
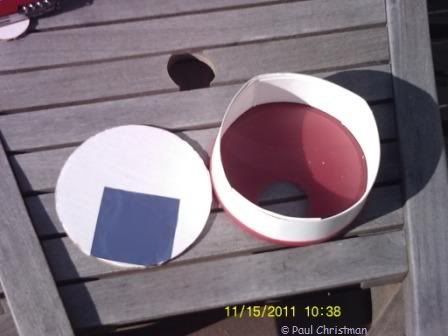
Both halves of the filter cell.
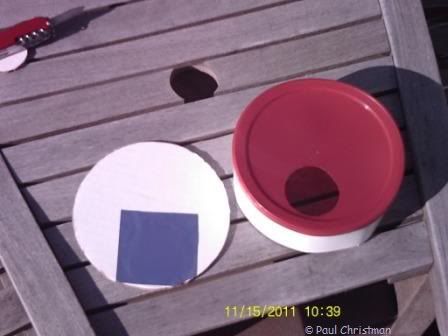
Double checking the fit over the OTA before gluing the cell together.
The secondary mirror just barely blocks the light path.
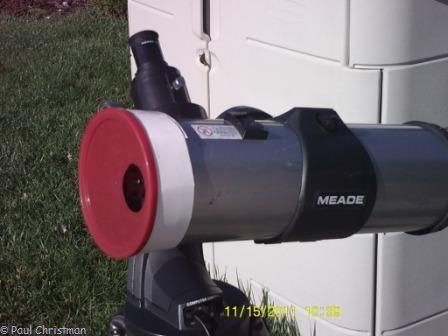
The completed filter cell.
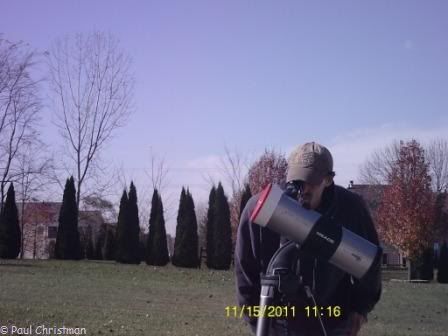
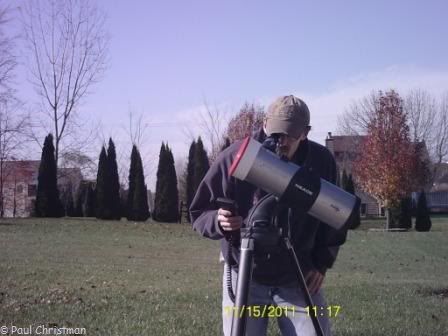
Enjoying the view.

